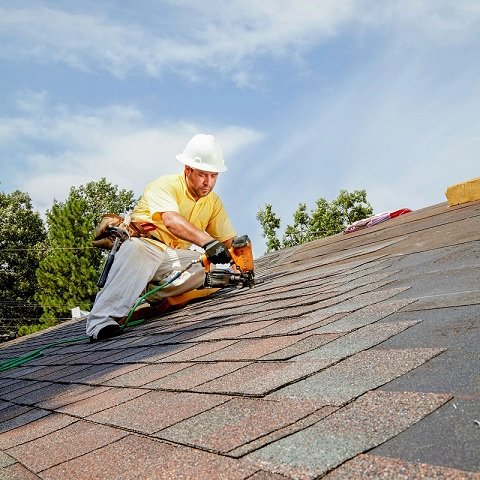
If you are installing a new roof, it is important to understand the main steps involved in the process. Every roof installation project is unique. Depending on the type and scale of the project, it can take one to three days to complete. The following guide sheds light on the key steps involved in a roof installation project.
1. Roof Inspection
Every roof installation job begins with an inspection. This involves checking the roof deck for any signs of leaks, damage, or weak spots. The objective is to ensure your roof is capable of supporting the new materials. The contractor will also create a plan for the new installation while ensuring the local building codes are properly met.
2. Taking Protective Measures for Your Property
The roofers will prepare your property for new roof installation by taking all the protective measures. The steps they can take can include:
- Attaching tarps to the roof line
- Setting up wooden boards to cover all structures, plants, and other items around your home’s base
- Moving furniture or other items off your patio or deck
- Covering the attic and pool
If any vehicles are parked near your home, they will have to be moved.
3. Removing Old Roof
Once all the protective measures are taken, the roofer will start removing your old roof. This involves stripping away all the materials down to the decking. This will provide a clean surface for the new installation. The roofing contractor will ensure a proper clean-up after the roof is removed. It will also be required to clean out the gutters.
4. Replacing Roof Decking
Next, the roofer will check the roof decking to ensure it is suitable for the new roof. The decking will need to be replaced if the wooden boards are found to be:
- Damaged
- Rotten
- Compromised
While some part of the decking often requires replacement, it is rare that the entire deck needs to be replaced. The contractors will also need to ensure the shingle manufacturer’s specifications are carefully followed before the new materials can be nailed onto the deck.
5. New Roof Installation
Once the old roof has been removed and the decking’s integrity is ensured, the new roof will be installed. The steps involved in the process are as follows:
- Installing drip edge on the roof’s edges
- Installing ice and water shield in roof valleys
- Replacing the flashing
- Installing the underlayment over the deck
When the underlayment dries and adheres to the roof, the roofer will start installing the shingles.
The steps followed during the shingles installation process are as follows:
- Installing the first row of starter shingles, followed by the others
- Installing the ridge capping
- Replacing the roof vents
6. Cleaning Up
The roofer will begin the clean-up phase once the roof has been installed. This includes blowing off the roof and gutters and ensuring all debris is removed. They will walk around your home and pick up any debris that may be left behind. Some roofers can also use magnets to remove any nails on your property.
7. Post-Installation Inspection
The roofing contractor will also conduct a thorough inspection of the roof. This step involves checking the quality of the final product. Every section of the new roof is checked to ensure proper installation and code compliance. They will also check the leak-prone areas such as areas around skylights and chimneys to ensure proper protection.
Conclusion
Generally, the final payment for a roof installation job is made after the inspection is completed and information is shared on the warranty. Overall, the roof installation job is a straightforward process. While it may sound simple, it is a labor-intensive process. It is recommended to hire an experienced, licensed, and insured roofer to ensure a high-quality job that lasts beyond its standard service life.

